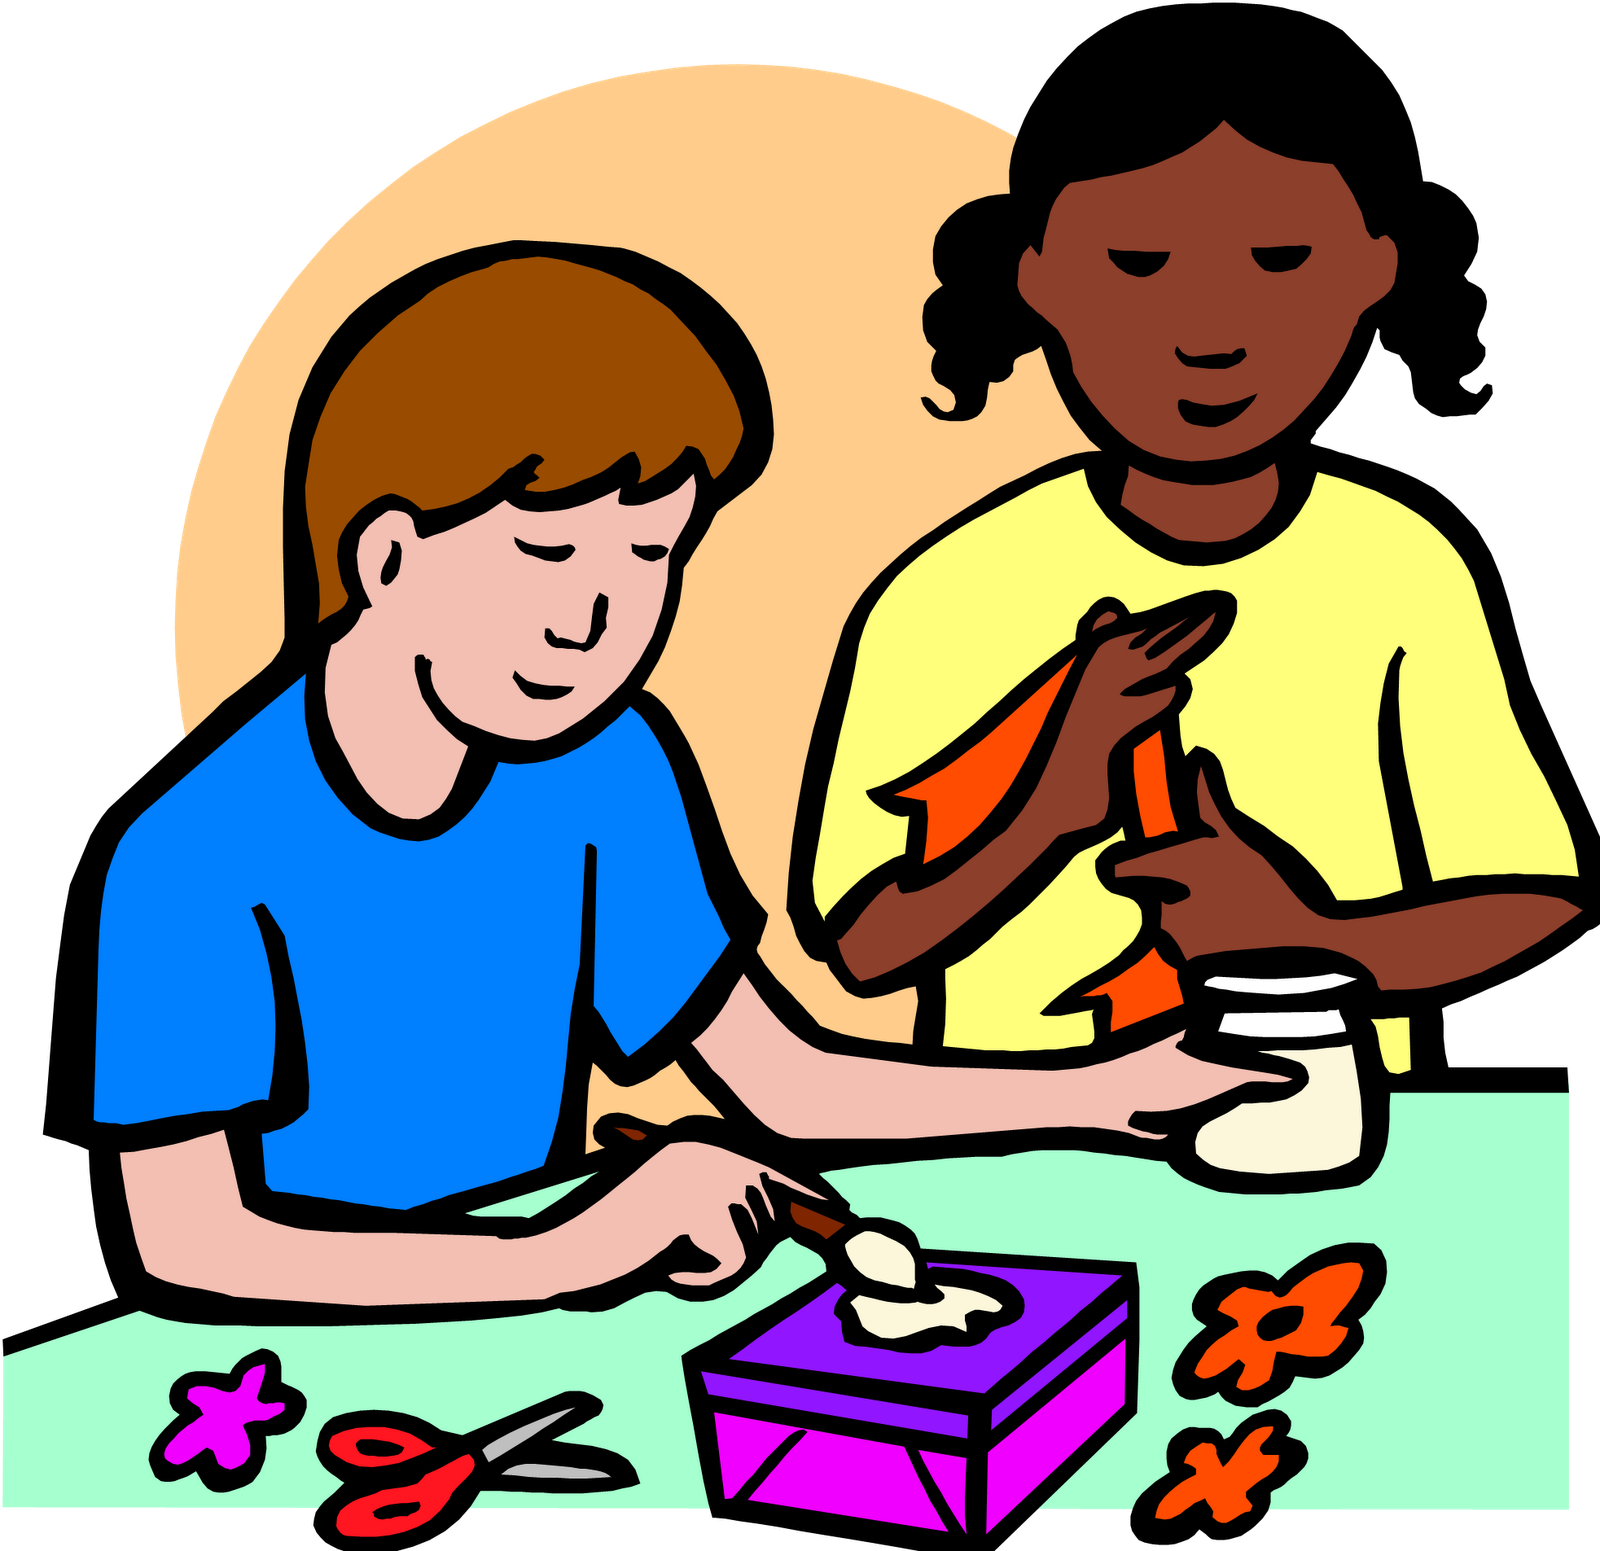
DIY Paper Flowers: Step‑by‑Step Guide, Tools, Templates, and Pro Tips
Why Make Your Own Paper Flowers
Handcrafted paper flowers offer long-lasting color, custom sizing, and low-cost decor for parties, gifts, and home styling. With a few sheets of paper, basic adhesive, and scissors, you can create realistic roses, swirled blossoms, and layered blooms that look polished without special equipment. This guide walks you through materials, core techniques, troubleshooting, and multiple project paths-including roses, spiral swirls, and punched or layered varieties-so you can choose the method that fits your tools and timeline.
Materials and Tools: What You’ll Need
You can start with simple craft paper and household tools, then add optional upgrades as you grow. Begin with medium-weight colored paper (65-80 lb cover or common construction paper), scissors, white PVA glue or a quick-tack craft glue, a pencil, and a ruler. Optional add-ons include a hot glue gun for faster setting, floral wire or skewers for stems, green floral tape for neat wrapping, and a bone folder or dull butter knife for scoring petals. Paper punches or cutting machines can speed up repetitive petals, but many crafters achieve great results with hand-cut templates. If you prefer guided visual steps, curated tutorials can help you see shaping and gluing angles in motion, which many beginners find useful for realistic roses and multi-petal layouts [1] [3] .
Project 1: Realistic Rolled Rose (Beginner-Friendly)
This classic rose uses a spiral cut and a tight initial coil to mimic natural petal curl. It’s approachable, requires only scissors and glue, and scales well for bouquets or gift toppers.
Step-by-step:

Source: twelveonmain.com
- Cut a 5-7 inch square of colored paper. Round the corners slightly so the spiral edges look petal-like.
- Draw a continuous spiral from the outside edge to the center. The spiral width can be 1-1.5 inches for medium petals. Cut along the spiral line.
- Start rolling from the outside end toward the center. Keep the first 3-4 turns tight to form the rosebud core, then slightly loosen your grip to allow petals to flare.
- When you reach the center tab, add a dab of glue and press the rolled flower onto the tab to lock it in place.
- Gently bend or curl petal edges outward with a pencil to create natural lift and depth.
Tips and variations:
- For fuller roses, cut a wider spiral; for dainty buds, cut narrower. Adjusting the first few tight rolls creates a more pronounced bud.
- Blend two tones of paper-one slightly lighter-for outer petals to increase realism.
- Video tutorials that demonstrate hand position, petal spacing, and curl direction can speed up your learning curve for this exact technique [1] .
Project 2: Swirly Accordion Flower (Fast, High-Impact Decor)
Swirly or accordion flowers create bold, graphic blooms perfect for backdrops and centerpieces. They’re efficient when you need many flowers quickly.
Step-by-step (accordion method):
- Cut a strip of paper approximately 3 x 12 inches. Fold the strip in 1 cm accordion folds from end to end.
- Trim one long edge into points or soft curves for petal tips.
- Form a loop by joining the short ends with glue; let it set until secure.
- Press the top inward to flatten into a rosette, then glue a small circle of paper on the back and a decorative circle on the front to stabilize.
- Optional: Glue a floral wire stem to the back and cover with a circle; wrap wire with floral tape.
This approach is commonly described in step-by-step community guides that show the accordion fold and pointed-tip shaping, which gives the flower its distinctive look [4] . For variations, adjust strip width for petal length, layer multiple rosettes, or add a contrasting center. If you prefer a different swirled look, video collections illustrate multiple “fast flower” formats in a single session, helpful for comparing styles [3] .

Source: stylemotivation.com
Project 3: Layered and Punched Petal Flowers (Clean, Consistent Shapes)
Layered flowers use several identical petal shapes stacked and offset to create fullness. Punches or cutting dies can save time, but you can hand-cut templates if you don’t have tools.
Step-by-step:
- Create a simple five-petal template on card stock. Trace and cut 3-5 layers from colored paper.
- Use a pencil or bone folder to curl each petal slightly outward for dimension.
- Pierce a small hole in the center of each layer. Stack layers, offsetting petals, and secure with a brad or dot of glue.
- Add a small fringed strip or a button for the center. For leaves, cut simple ovals with a pointed end and score a center vein.
- Mount on a stem or glue to card fronts, gift boxes, or wall displays.
Crafters commonly use petal punches, center holes, and brads to assemble consistent flowers quickly; community tips emphasize that a brad through the center holds layers securely while allowing rotation to perfect the offset before tightening [2] .
Shaping, Assembly, and Realism Techniques
Realistic dimension comes from controlled curl, strategic overlaps, and varied petal sizes. Lightly misting heavy paper can make it more pliable, but use caution to avoid warping. Build from a tight center and gradually increase petal size outward. Alternate petal seams so they don’t line up, which prevents visible gaps. For roses and multi-petal styles, watch how makers angle petals and loosen tension after the core; seeing the hand motion helps translate instructions into practice [1] [3] . For accordion flowers, ensure your backer circles are well-glued; community tutorials show that securing the back and front stabilizers is the key to keeping the rosette from springing open [4] .
Scaling Up for Events and Decor
To produce a matching set, choose a color palette of 2-3 hues plus a neutral. For bouquets, mix 3-5 rose sizes and add leaf sprigs. For wall backdrops, combine layered blooms with accordion rosettes for contrast. Batch your workflow: cut all petals first, shape second, then glue. Multi-design roundups that teach 4-6 flower types in one video are efficient for planning cohesive sets with varied textures [3] . If you prefer a single hero flower style, rose-focused tutorials demonstrate how minor changes in spiral width and curl transform scale and fullness [1] .
Common Challenges and Quick Fixes
Petals won’t hold shape: Increase curl pressure gradually and use slightly heavier paper for structure. If edges flatten, re-curl with a dowel once glue sets. Blooms popping open (rosettes): Add larger backer circles and more adhesive; press until fully dry, as shown in accordion-step guides [4] . Lopsided roses: Keep the first rolls tight and centered; adjust tension as you move outward. Visible seams: Stagger joins and add a final outer petal to hide seams. Glue mess: Use a fine-tip applicator or toothpick; a hot glue gun speeds assembly but leaves thicker seams-practice on scraps first. If you learn visually, watching close-up assembly where creators show glue placement and petal offset can clarify these fixes [1] [3] .
Alternative Approaches and Enhancements
Paper choice changes the look: crepe paper adds stretch and lifelike ruffles, cardstock yields crisp edges, and tissue makes ethereal, large blooms. Edge finishing with ink pads or pastel chalks creates depth; try brushing the petal tips lightly before assembly. Centers can be simple circles, quilled fringes, or beads. For quick uniformity, consider petal punches and brads; community crafters note that a tiny hole and brad are a reliable way to secure multi-layer flowers while allowing final adjustments before locking in place [2] . For gift toppers, mount a small rose on a cardstock leaf cluster; for table decor, attach stems and arrange in a small vase filled with pebbles for stability.
Display, Care, and Storage
Keep paper flowers away from direct sunlight to reduce fading and from high humidity to prevent warping. Dust gently with a soft brush or compressed air held at a distance. For transport, place blooms in a shallow box with tissue support around the petals. If a petal bends, re-curl with a pencil or re-shape with a light mist and careful drying.
Action Plan: Choose Your First Build
Begin with one of three starter paths based on your tools and time:
- Fast win: Make 6-8 accordion rosettes for a wall banner. Cut strips, fold, trim tips, stabilize with circles, and mix sizes for depth [4] .
- Gift-ready rose: Roll 3-5 spiral roses and mount on a cardstock tag. Practice tight-to-loose coil tension as shown in rose demos to nail the natural curl [1] .
- Card-friendly layered bloom set: Punch or hand-cut 12-15 petals, stack with a brad, and finish with a fringed center for quick, consistent results [2] .
References
[1] Aashu Art & Craft (2019). How to make Realistic, Easy paper Roses | Paper flower DIY.
[2] Etsy Community (2011). Paper Flower Making (tips on punches, holes, and brads).
[3] Ventuno Art (2018). 6 Easy Paper Flowers | Flower Making | DIY.
[4] Instructables (n.d.). DIY Swirly Paper Flowers: 7 Steps (with Pictures).